Library
- 13 Oct 2021
- 3 Minutes to read
- Print
- DarkLight
- PDF
Library
- Updated on 13 Oct 2021
- 3 Minutes to read
- Print
- DarkLight
- PDF
Article summary
Did you find this summary helpful?
Thank you for your feedback!
Creating Categories and Sub-categories
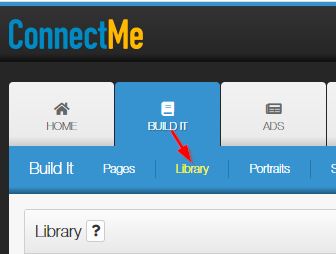
1. The Library is where all your images and templates are stored and managed. The Library is found under the Build It tab.
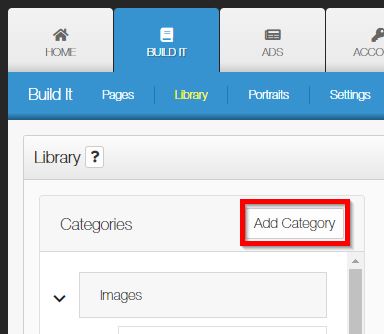
2. On the left hand side of the page you will see the categories that are in your project. To create a new category click on Add Category . An Add Category window will appear.
3. First select the category type (image or template). The category parent option allows you to create a sub-category (up to 2) below a main category. Then type in the category name and click on Create Category.

Importing\Exporting Categories
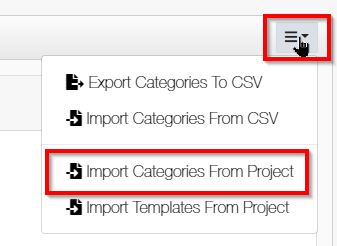
Importing Categories from previous projects: If you want to import categories from a previous year's project go to the drop down menu on the far right side of ConnectMe and select "Import Categories From Project".
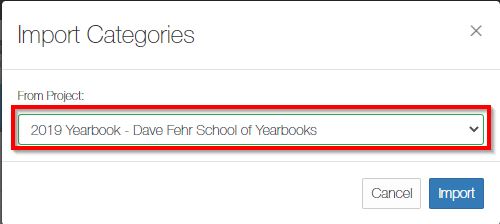
At this point there should be a drop down menu showing the projects that are available. Select the project and click on Import.
Deleting or Renaming Categories
1. Select the category on the left that you want to rename. The category name will appear beside the search box.
2. Type in the new name of the category and hit the tab key on your keyboard. The category name will automatically update.

3. To delete a category select it from the left hand side and click on Delete Category beside the search box. The category name will then be removed from the list.
Note:
If a category is deleted the images that are in that category will NOT be deleted. They will be automatically moved to the Images not in a Category.
Uploading images from Computer or Google Drive
1. To upload images click on the Upload Images button located below the image and template categories. When you click on this upload button you will see two options. The first option is Computer. This will allow you to upload images directly from your computer. The second option is Google Drive. This will allow you to upload images from your Google Drive account. This option will require you to login to your Google Drive account.
.jpg)
.jpg)
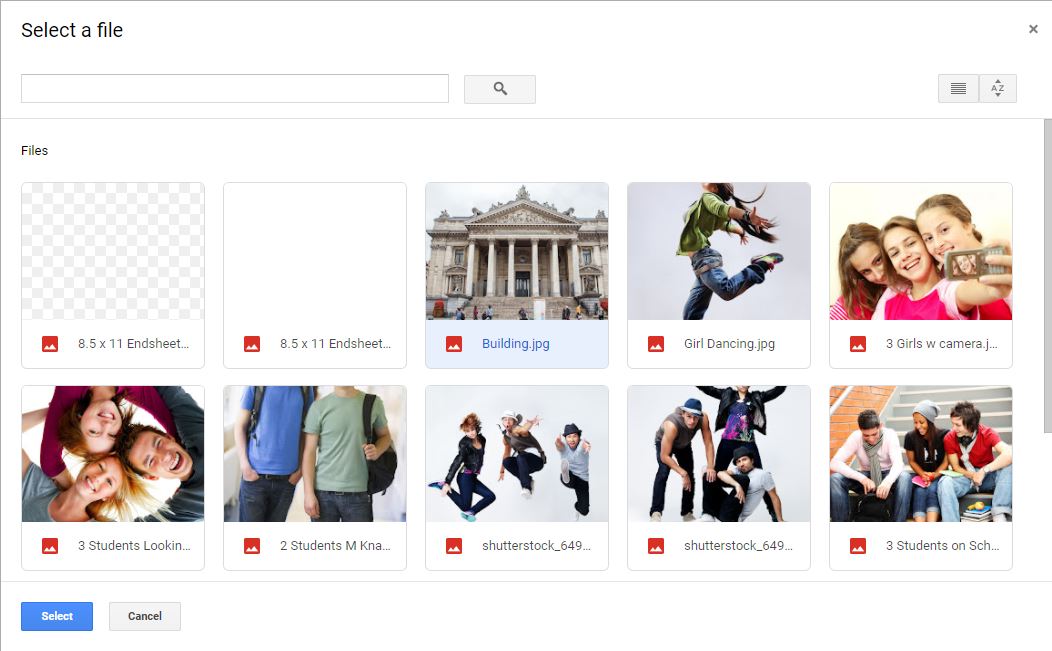
After you Sign in with Google an upload window will come up showing all the images in your Google Drive that are compatible with DesignIt. Select the images that you want and click on Select to add them to the Library upload window.
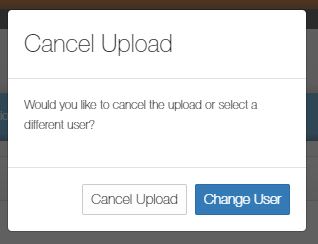
If you want to switch to a different Google Drive account, click on cancel on the Google Drive window after you have logged into your Google Drive account and it will give you an option to cancel the upload or switch users.
Below is a video showing how to upload images with Google Drive.
Once you have selected the images from either your computer or Google Drive the upload window will come up.
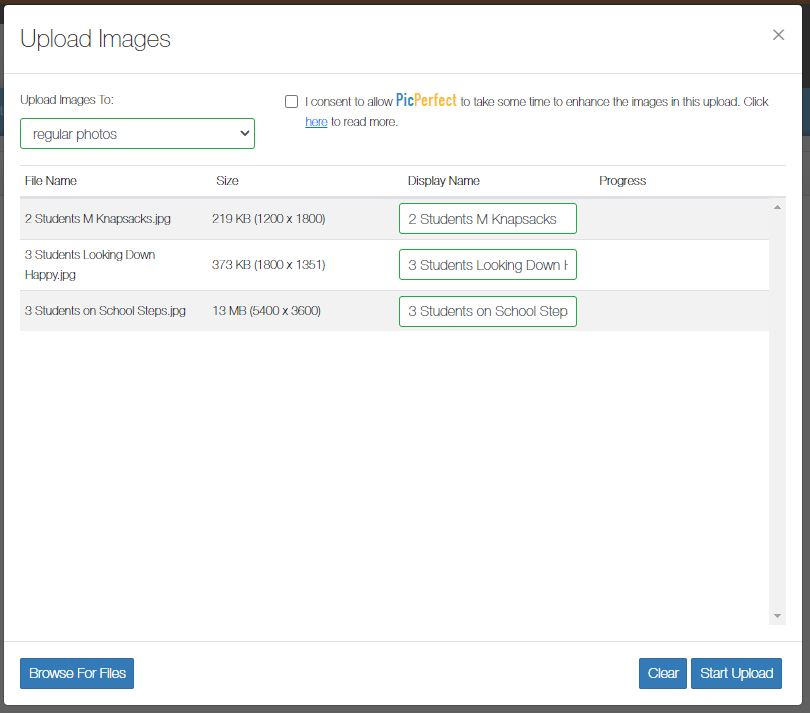
At this point you can select the category in the drop down menu that you would like to upload images to. If you selected to upload your images from your computer you should see the button Browse For Files to select the images from your computer. If you want to select multiple files hold down your control key or shift key. Once the images are selected click on Start Upload .
Organizing images
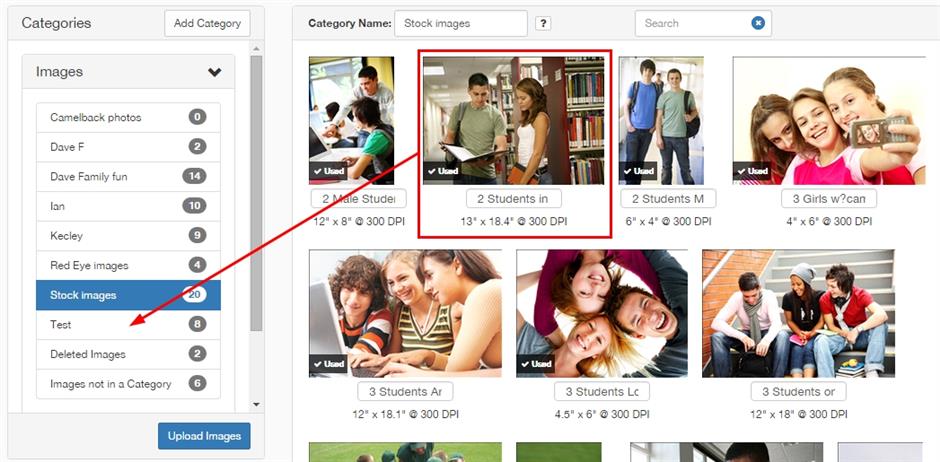
1. Click on an Image category to view your images.
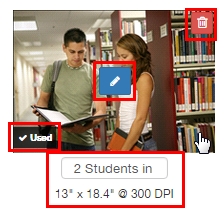
-To rename the image, click inside the name box and type in the new name.
-To delete the image click on the red trash can icon (this cannot be un-done).
-To edit the image (remove red eye, transparent backgrounds) click on the blue edit button on the middle of the image.
- On the bottom left the image will indicate Used if the image has already been placed on a page. Hover your curser over that icon and it will indicate which page(s) it was placed on.
Note :
Below each image it will indicate the maximum size the image can be placed on your pages. The online system will not allow a low resolution (low quality) image to be placed on a page.
1. To move an image into a category find the image that needs to be moved. Click and drag the image to the desired category. The image will move directly into that category.
Was this article helpful?