Page Manager
- 31 Mar 2023
- 9 Minutes to read
- Print
- DarkLight
- PDF
Page Manager
- Updated on 31 Mar 2023
- 9 Minutes to read
- Print
- DarkLight
- PDF
Article summary
Did you find this summary helpful?
Thank you for your feedback!
Pages
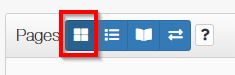
We wanted to let you know that there has been an update to the ConnectMe site. When you get to your Pages screen, you'll now see this:

Below is a list of new features and help videos walking you through the new tools.
Comments * NEW * Make notes on pages, leave commentary for editors, or reminders for yourself.
Filter Pages * NEW * View only the pages marked as Reviewed or Approved, or only see the pages assigned to you.
Page Ladder * IMPROVED * See all the details of your spreads on your page ladder. Note the Photographer, Journalist and Designer, name the spread, and set individual spread deadlines for you and your students. You can also assign pages and view comments here. You'll also have the ability to import the previous year's page ladder, so all the pages are labelled and ready to go.
Move Pages * IMPROVED * The button has moved to the left, and you now have the ability to revert back if you don't like the changes you've made.
Individual Page Deadlines: Now you can set a pages deadlines, so students can see when each spread is due
The videos below go over how to navigate the pages tab.
Spreads View
This view shows all the pages in your book as thumbnails. On each thumbnail you will have a comments option on the top left side. On the top right hand side of the thumbnail there is a drop down menu containing options for Assigning users, Save as template, applying templates, Preflight issues (for PDF supplied pages), Resent saves (online pages), PDF proofing, and page approval options.
Comments
Click on the comments button on the top right to add a comment to this spread. You can send the comment to every user or a specific user. The Comments can be deleted provided your login account has this permission enabled.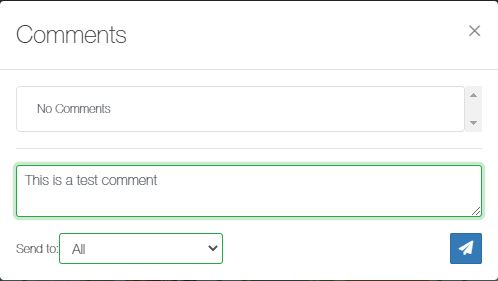
Assigning Users to spreads
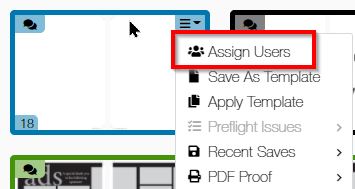
When you select the Assign Users option, a menu will come up that will allow you to select which user(s) you can assign to this spread.
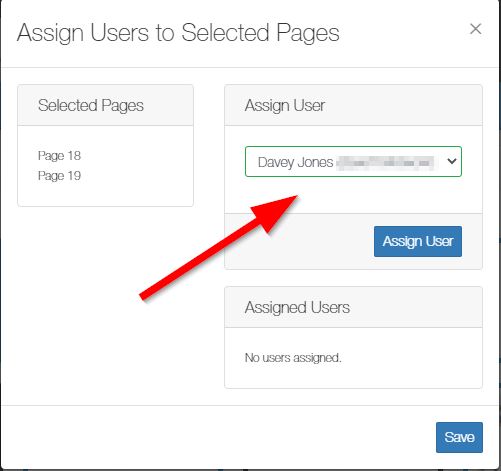
Once you assign a user(s) to this spread, only those users will have access to these pages. All other users will not be able to open and edit these pages.
Save spreads as templates
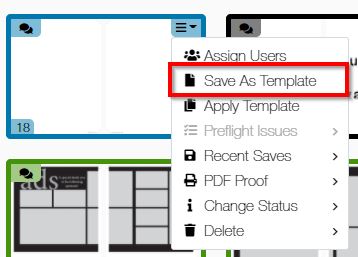
If you want to save your current spread as a template to be used elsewhere in the book select the Save As Template option.
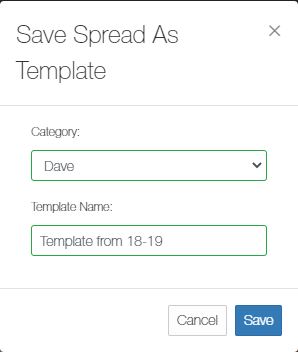
In the Save Spread As Template window select the template category you want to save the template in and then give it a name. Once you click save, it will place the template in the library under templates. In the Library screen you can go into the templates, open and modify them if you like.
NOTE: You will need to first create a template category in the Library in order to save a template with this feature.
Applying Templates
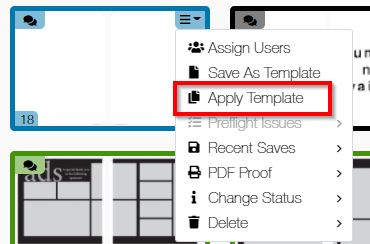
If you want to apply a template to a spread click on the Apply Template option.
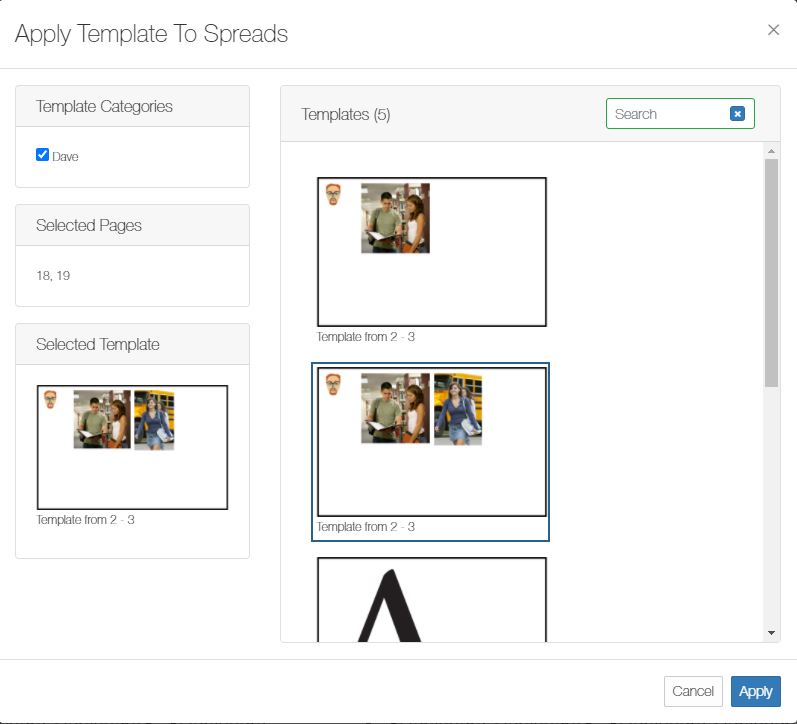
In the Apply Template To Spreads window select the template category you want to select templates from. Select the template from the right hand side and click Apply.
Preflight Issues
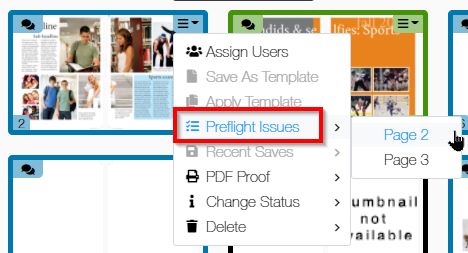
If you use a program like Adobe InDesign to create your yearbook pages you will need to export PDF files in order to submit the pages to ConnectMe. Once the pages are submitted the Preflight Issues option will let you know about any major issues with your PDF files (Low Res images, incorrect bleeds, etc...). If you need to correct the issues with the PDF page, go back to InDesign, make the changes and re-upload a new PDF file.
Recent Saves
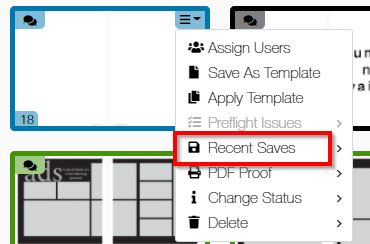
The Recent Saves option allows you to open up to 3 past saves of that spread. If you open one of these versions and click save that becomes the current version.
PDF Proof
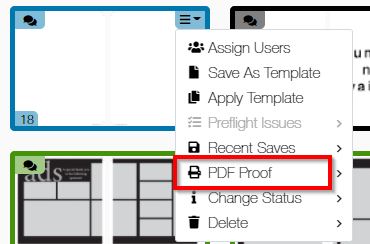
Whether you create your pages online or submit PDF pages to ConnectMe you can view PDF versions of these pages for reference. For PDF supplied pages you will be able to view each page separately. If you created your pages online you will have the option to view the PDF pages individually or as one PDF.
NOTE: These PDF pages are meant for content only.
Change Status (Approving or reviewing pages)
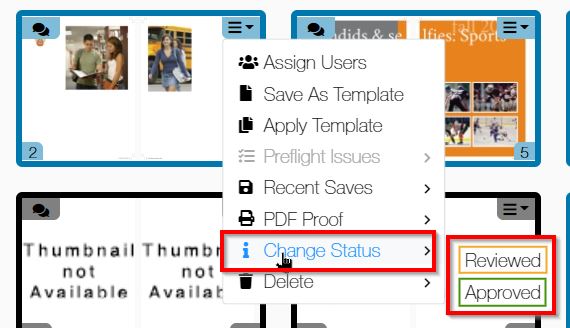
Changing the status of your pages is used for organization and to submit to Friesens to work towards your deadlines.
Reviewed: The reviewed status changes the outline of the spread to orange. This stage is not monitored by Friesens but it is meant as an organization tool for your yearbook staff. For example, if a student completes a spread they can change the status to Reviewed. This can be a trigger for a teacher or advisor to go over these pages and Approve them for printing or set them back to Active for the student to make changes or corrections.
Approved: When a spread is approved it can no longer be changed or edited. These pages are considered to be submitted to Friesens and will apply towards the deadlines of the yearbook.
Delete
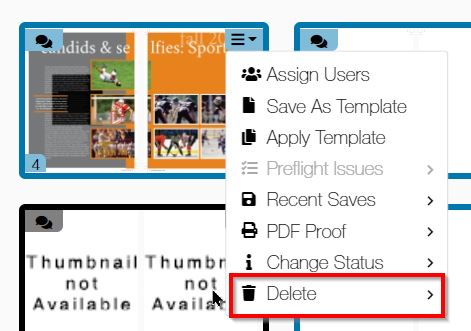
Deleting DesignIt (Online) pages: When you delete pages created with DesignIt it will delete the spread. You cannot delete single pages unless it is page 1 or the last page of the yearbook.
Deleting PDF (InDesign) supplied pages: When you have supplied (uploaded) PDF pages to ConnectMe you can delete each page individually.
NOTE: If you are wanting to move PDF supplied pages, you will need to delete the pages in ConnectMe and re-upload them in the correct location. This is done to ensure page numbers can be modified before the PDF pages are re-uploaded.
Multiple Menu Select
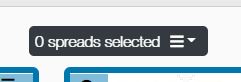
The Multiple Menu Selection option allows you to make global changes on multiple pages that you have selected. Just click on the spreads\pages you want to change and use this menu to make changes. This includes approving multiple pages \ spreads at one time. Just select the pages you want to approve and use the Multiple Menu Select to approve them all at once.
![]()
Select All: The Select All function highlights all the pages in your book. From there you can assign users, Apply Templates or Delete all pages. If you click on the Select All option it will select all the pages. If you want to deselect individual pages just click on the spreads that you don't want to include in that selection.
Clear Selection: If you have selected multiple spreads in your page ladder you can use this option to deselect all the those pages at once.
Spreads View

The Spreads View allows you to modify your page ladder, assign individual page deadlines, Add comments, assign users and use the checklist to verify page progress.
Spread Information:
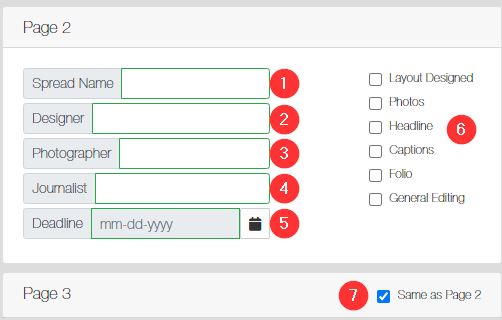
1. Spread Name: The spread name is what appears in the Spreads view with all the thumbnails.
2-4.Designer, Photographer and Journalist: If you have specific staff assigned to these areas you can input them here so they appear on the page ladder.
5. Spread \ Page deadlines: This option will allow you to set individual deadlines for pages \ spreads. These deadlines are not related to the deadlines set with Friesens. These are mini deadlines that you can give to the staff \ editors to get pages in on time.
6. Spread checklist: This checklist can be used to monitor progress of the spreads that are being worked on.
7. Spread info check box: If the info for each page is different you can turn off this check box. This will allow you to make the info for each page in that spread different.
Assign Users in Page Ladder view
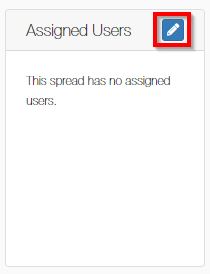
In the page ladder view you can also assign users to individual spreads. Just click on the blue add button and select the user(s) that need to be assigned to this spread. Once a user is assigned they are the only one that can open and edit those pages.
Comments in Page Ladder view
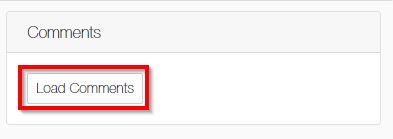
You can also add comments in the page ladder view. When you click on the Load Comments button it will allow you to type in the comment and select a user to send the comment to.
NOTE: The comments can be deleted provided your login account has those permissions set. Feel free to contact your Project Specialist if you have questions about this permission.
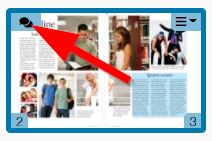
Proofing View
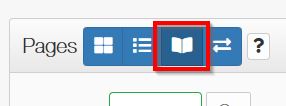
The Proofing view allows you to view a virtual copy of your book. It also allows you to proof your cover and endsheets that have been posted to your account.
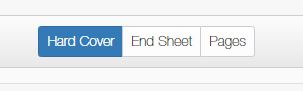
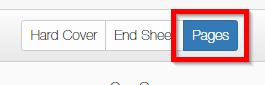
At the center of the screen you will see three options. The Hard Cover and Endsheets tabs are for proofing Covers and Endsheets that have been posted to your account after our prepress staff have processed your submission. Below is a video showing how to proof those cover and endsheet proofs.
The Pages view allows you to view a virtual book of all your pages that you have either created online with DesignIt or uploaded as PDF files from InDesign.
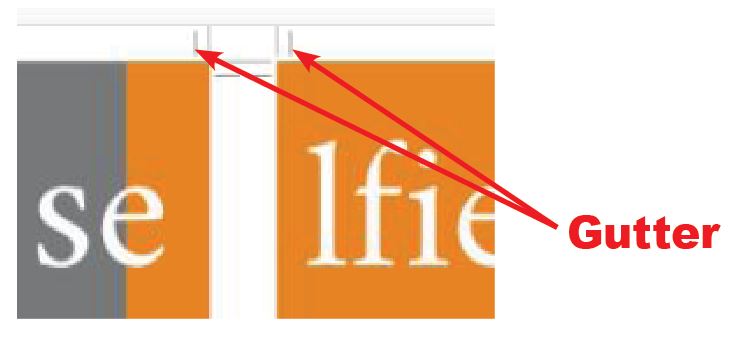
In the Proofing view under pages you will notice a white space at the center which is normal as you are viewing PDF versions of the pages side by side. In the center of the spread you will see crop marks showing the page edge and bleed. In the center of the spread the inside crop marks show where the pages will be together in the gutter. In the below screen capture it shows the location of these marks. So you will see a small sliver of the adjacent page on each side.
Move Pages
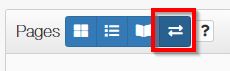
In the Move Pages screen you can either switch spreads or move spreads to re-arrange them. Moving pages can be done provided the pages have not been approved.
Swap pages (switch one spread with another): Go into the move pages view, click and drag one spread on top of another. This will switch those two spreads and not move any other spreads.
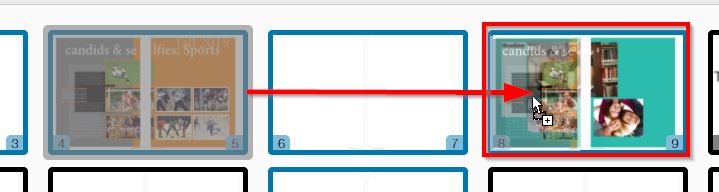
Re-arrange pages: If you want to move a spread and have the rest of the pages reflow, click and drag the spread in between the spreads where you would like the pages to appear. This will move these pages in that location and shift all the other pages to accommodate.
Once you are done moving\swapping pages click on Apply to finalize the change. If an error was made in the move click on Revert and try again.
User Page Views
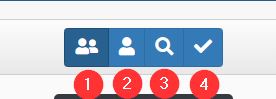
The User Page Views allows you to view certain spreads depending on their status or the spreads that your account has been assigned.
1. All Spreads View: This view displays all the spreads in the project regardless of status or assignments.
2. My Spreads View: This view will display only the spreads that your account has been assigned to. The remaining spreads will be hidden in this view.
3. Reviewed Spreads: This view will display all the pages that have the status changed to reviewed. The remaining spreads will be hidden.
4. Approved Spreads: This view will display all the pages that have been set to Approved. All approved pages work towards your deadlines and cannot be edited or moved.
Page Ladder
On the right hand side of the ConnectMe site you will see a drop down menu. In that menu you will find two options for your page ladder.
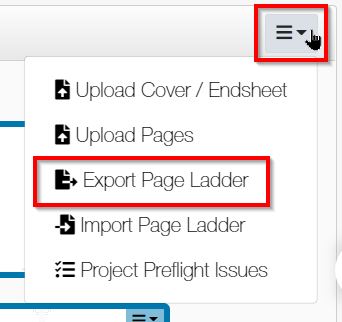
Export Page Ladder: This option will allow you to export your page ladder to an excel document.
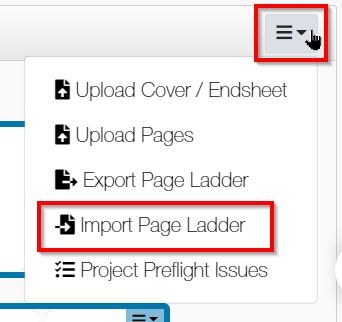
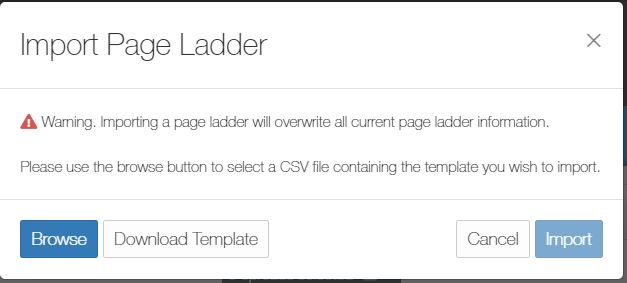
Import Page Ladder: This option allows you to import your own page ladder. In order to do this you will need to download the template that is provided in this menu. Once you have downloaded this template and filled it out, you can import the ladder back into ConnectMe.
Was this article helpful?