Importing, Managing and Flowing Portraits
- 12 Jun 2024
- 5 Minutes to read
- Print
- DarkLight
- PDF
Importing, Managing and Flowing Portraits
- Updated on 12 Jun 2024
- 5 Minutes to read
- Print
- DarkLight
- PDF
Article summary
Did you find this summary helpful?
Thank you for your feedback!
Uploading portraits
See PDF
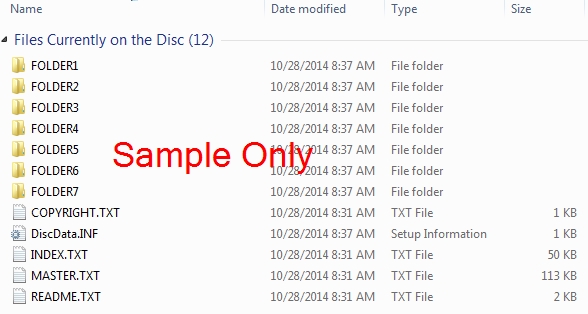
1. In order to upload the portrait images select the main folder of images and click Upload to upload the images. Copy the Index file and the Readme file (if available) to the same folder on your desktop or local hard drive. (See sample disk contents below)
NOTE:
Some photographers will also send an administration disk. This disk CANNOT be used for yearbook purposes. This disk is for the administration for creating student list and ID cards. Make sure the disk you use indicates Yearbook Images. PLEASE FOLLOW School Photographers of America's Data Exchange Standard & Guidelines: https://www.schoolphotographersofamerica.com/_files/ugd/545fa3_5ed4a233b5a84c1e974f64e83a5dd985.pdf
2. Login to ConnectMe at cm.friesens.com and select Upload Portraits under the Quick Links menu.
3. Under STEP 1 click on the Index File Button and select the Index file that was copied to your desktop or hard drive.
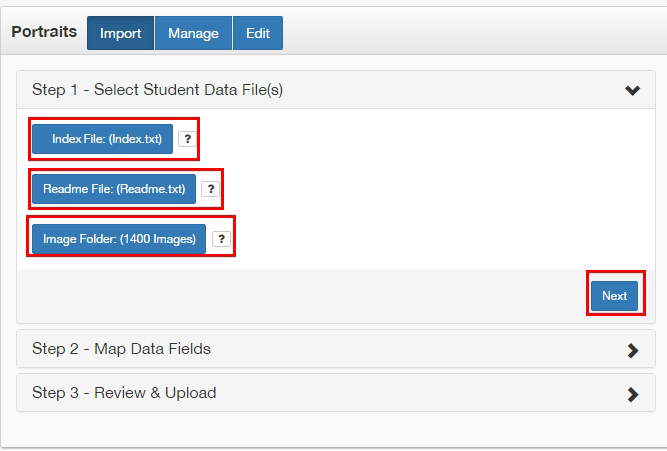
4. Click on the Readme File button and select the Readme file that was copied to your desktop or hard drive. (This step is optional, some portrait disks don't have this file)
5. Select the Image Folder button and select the folder of images that was copied to your desktop or Hard Drive. Click on Next .
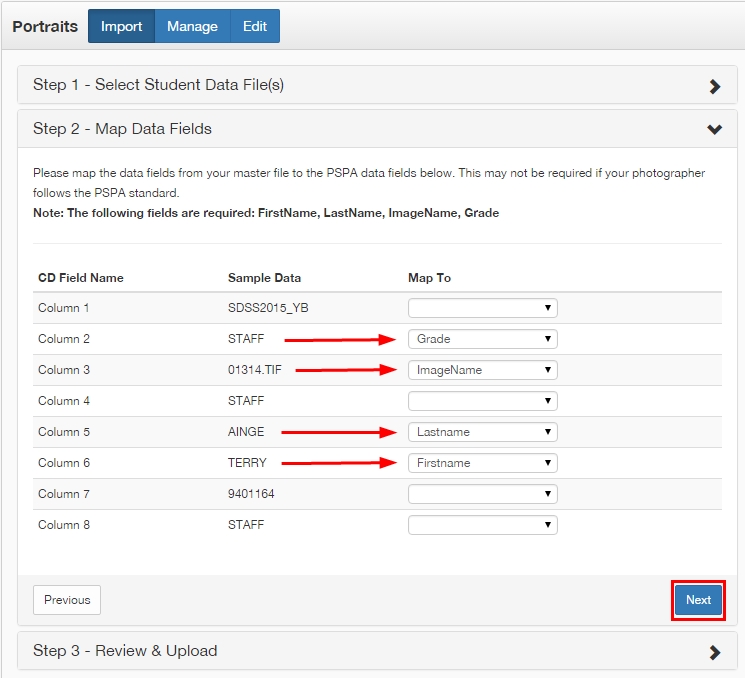
6. Under STEP 2 match the Sample Data to the fields that they belong to. The required fields needed to upload are First Name, Last Name, Grade and Image name.
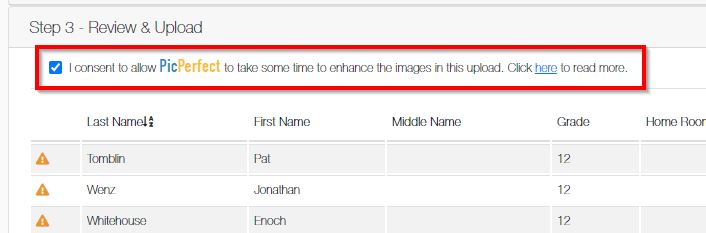
7. In STEP 3 review the information and ensure that it is correctly mapped. If the names on the list show in All Caps you can correct that by clicking on Correct Casing .
Before you view the information be sure to select or deselect the option for PicPerfect. PicPerfect is an image enhancement tool that is automatically run in the background after you upload your images. This process can take a few hours to complete if you choose this option. Keep in mind that if you feel that there are no enhancements needed for your portraits then there would be no reason to use PicPerfect on these images. In that case un-check that box and the images will be uploaded as is. If you would like more info on PicPerfect click on this video link: https://youtu.be/ICBw76zyKzA
NOTE:
If you receive any warning symbols beside the names in the list, hover your mouse curser over those symbols and it will indicate the issue.
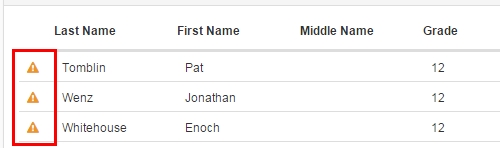
If you receive a number of warnings with your images you will want to go back to your folder of images and make sure all the content is there.

8. To begin importing the images click on Upload. At this point the images will be uploaded one by one into your account.
NOTE:
Do not close this window or navigate to another window during the upload. This would cancel the upload and it would have to be re-done.
Managing Portraits
See PDF
Login to your ConnectMe account and click on the Build It tab and select Portraits.
In the Settings area select how you would like to sort the portrait images. Grade will be the default setting.
In the Groups To Display area select what content you would like displayed while editing the portraits.
In the Manage area you will find a list of all the images that were uploaded to your account. They will be sorted by the group that was selected in the settings area.
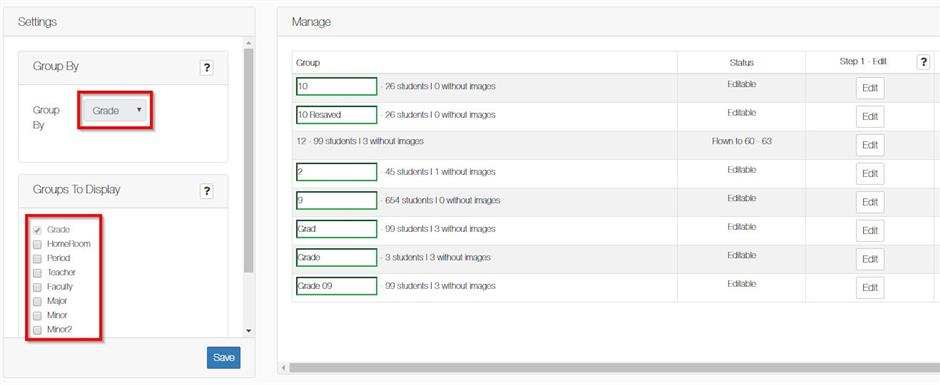
Select Edit beside the group that you would like to view.
Above the portrait images you can click on the drop down menu beside Select Group to switch to other groups quickly.
To search for students click inside the Search For Student box and start typing the students name. It will automatically search while you are typing.
The drop down beside the Quick Filter will allow you to view only the students that have missing images, multiple images, or deleted images.
If you click on the Format All button it will allow you to change the case of the student names (All upper case, all lower case, etc…).
To print the current group click on the Print button.

Editing Portraits
Select the portrait image that you would like to edit. The student's image and info will appear on the left hand side.
Change the First Name , Last Name , Middle Name or Grade and click Save.
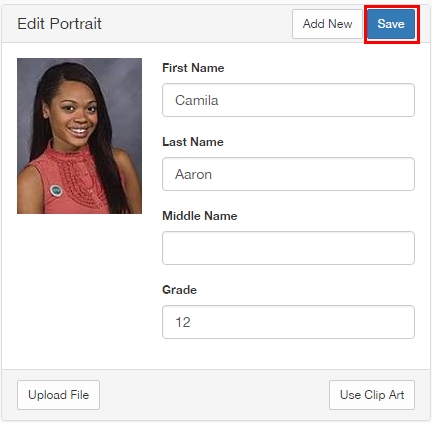
To upload a new image click on Upload File and select the new image from your computer or network.
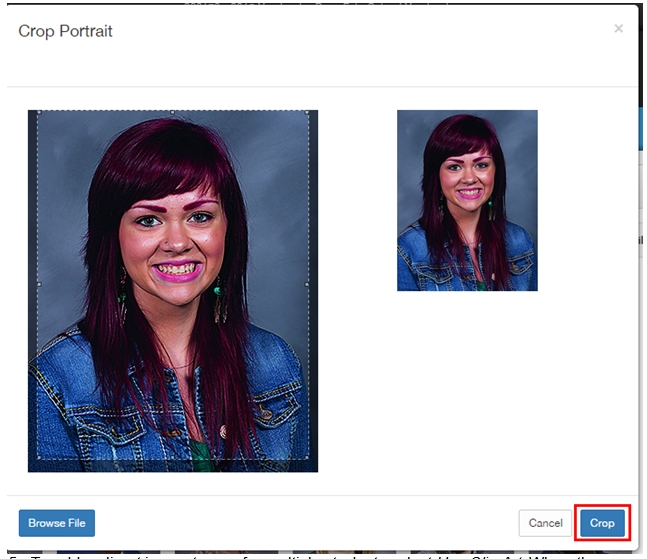
Note:When uploading a replacement image, it must be in jpg format.
From there a crop window will come up. Crop the image by clicking and dragging on the corners of the crop lines. Click on Crop when done.
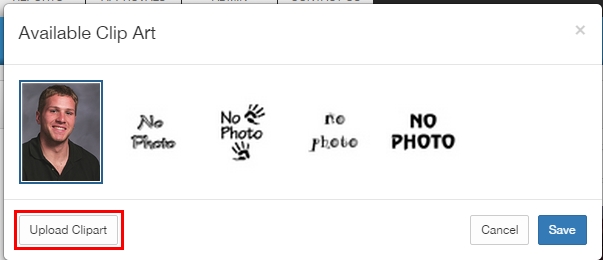
To add a clipart image to use for multiple students select Use Clip Art . When the Available Clip Art window opens select Upload Clipart. Once the clipart is uploaded it can be use for multiple students. Click on Save.
Flowing Portraits
See PDF
1. Login to ConnectMe and go to the Build It tab and click on Portraits.
2. In the Manage area click on Design beside the grade that you want to start with. This will open a grid editor which will allow you to create the portrait template for flowing.

3. In the grid editor you can format how you want the names and images placed.
4. Across the top you will find the following settings:
-Margins
-Placement of portrait names
-Shape of portrait box (rectangle or oval)
-Portrait box size
-Spacing between portraits
-Stroke around portrait boxes
-Font selection, size, and color
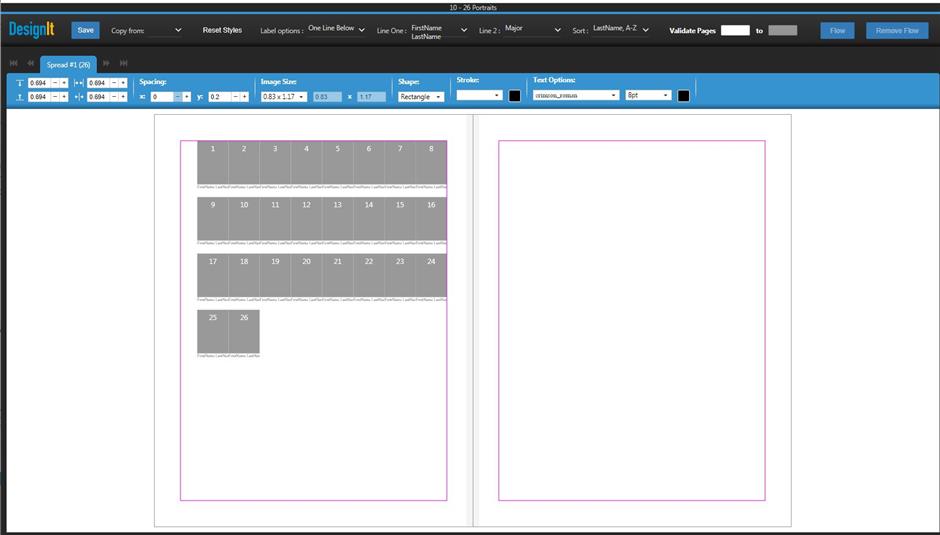
5. To create space (for headlines, candids, etc…) simply click on the portrait boxes to add or remove them. The boxes you remove will be added to the end.
6. The tabs on top of the grid indicate how many images there are and how many spreads you will need. Click on those tabs to modify those grids. Once that is done click on Save .
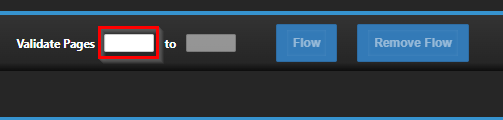
7. Now that your portrait grid has been created, a starting page number can be entered. On the top right of the grid editor there is a Validate Pages option. Enter the page number this group or grade will start and click tab on your keyboard.
8. Once that is done click on Flow to begin flowing the portraits. Then just below the flow button it will show the progress of the flow and will indicate finished when done.
Note:
While the portraits are flowing you can close the grid editor tab and still navigate to other pages and work on page spreads. The portraits will appear on the pages once the system has finished flowing them.
9. If a correction needs to be made to the portraits or the names you will need to click on Remove Flow in the grid editor screen. This will remove the images from the spread and allow you to make your changes to the grid or the portraits in the portrait editing area. Once the changes are made you can reflow the images .
Was this article helpful?