Products
- 31 Mar 2023
- 6 Minutes to read
- Print
- DarkLight
- PDF
Products
- Updated on 31 Mar 2023
- 6 Minutes to read
- Print
- DarkLight
- PDF
Article summary
Did you find this summary helpful?
Thank you for your feedback!
Once the Product tab is selected your school project will show up. If it is greyed out, you will need to activate it by scrolling over “Disabled” and select the dropdown and select “Active”.
Once activated scroll over to the product name and select or scroll over the gear wheel, click dropdown and select “Edit”.
YEARBOOKS
GENERAL TAB
Information:
Name: School name will appear by default, but the name can be customized.
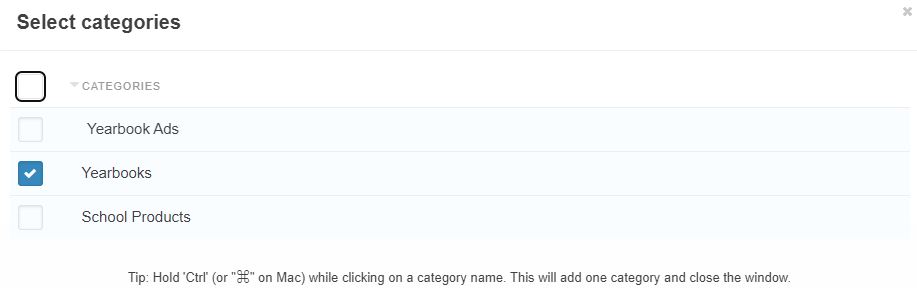
Categories: Yearbooks is selected by default. You don’t need to change this.

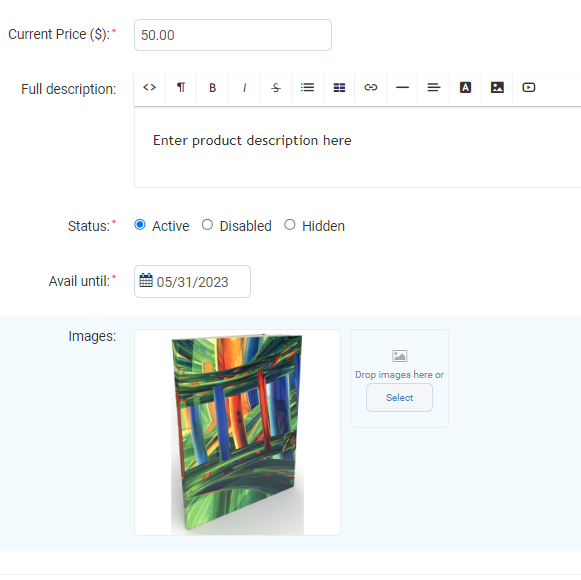
Current Price: This will be the price that the product currently sells at.
Full description: This area is to leave any information for the buyer.
Status:
- Active – Product is currently for sale.
- Disabled – Product is no longer for sale.
- Hidden – Product is hidden until you are ready to make it active.
Avail Until: Enter in your last available date to purchase the yearbook.
Images: Images can be dropped onto the designated area, or they can be selected by browsing for the image. Recommended image format is JPG.
Pricing / Inventory:
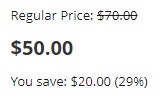
Regular Price: If this price is the same as the current price this will be the amount that shows in the store. If this price is larger than the current price, the price in the store will show the percentage of the savings.
In stock: This is the amount that is available. Quantity reflects your most recently approved quote. As yearbooks sell, this quantity will go down. Product will be available until inventory runs out or when the status is changed to Disabled. If you need to increase quantity, contact your Friesens Print Consultant as the quantity on your yearbook quote will need to increase.
Taxes: Use this only if you would like to add taxes to the yearbook. If you want to use the State tax, please contact your Project Specialist.
Navigate to the top right corner and hit “Save” when changes have been made. Click the storefront panel on the bottom to confirm changes have been made.
Shipping:
- By Default, products are shipped to the school for pick up.
- Individual mailings can be done through the store. Please contact your print consultant to inquire for this service.
OPTIONS TAB
Please disregard “Create or link an existing option” or “Forbidden combinations”
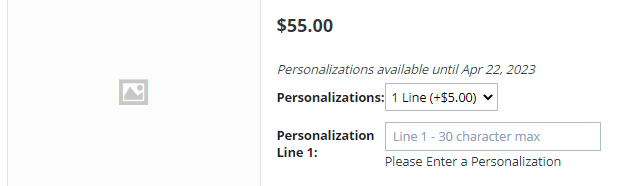
Personalization:
You will see 3 lines when you select Options for personalization. You only need to worry about the first line “Personalizations”. You will need to change from disabled to active. Now you can select the gear wheel icon and click edit or click on title.

General: The settings in not editable except for Avail Until. Below is a description of each field.
Name and Storefront Name: By default this will show “Personalizations”. This cannot be changed as it needs to sync to personalization list in ConnectMe.
- Avail until: This date needs to be selected. Please make sure it's well-before you final deadline date for your yearbooks so this can be processed at the plant.
- Position: This signifies that the personalization option will show at the top.
- Vendor: This will always show your school name.
- Type: Select Box is a drop down to choose your choice. Radio Group shows all the selection options.
- Description: Describe any information to help sell your personalization. This will appear in a question mark icon on the store.
- Comment: This is another description area. On the storefront this will appear just below the personalization options.
- Required: You would only choose this if it is mandatory the purchasers choose personalization.
- Missing variants handling: This is messaging that will appear on the storefront if variants have not been activated.
Variants:
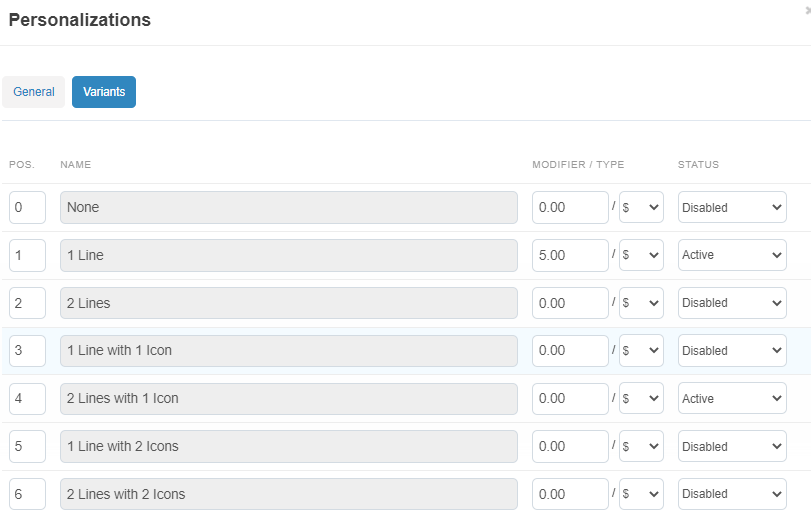
By default the first line “None” shows up and should be left this way because this allows the purchaser the option to not select personalization. Under Status make sure to select “Active” for applicable including none.
- Under modifier enter in your price.
- Under type keep it as $ symbol.
Please hit save to apply the changes. Click the storefront panel on the bottom to confirm changes have been made.
If selling glue stripped memory capsules, please contact your Project Specialist.
YEARBOOKS ADS
Once the Product tab is selected your Yearbook Ads will show up. If it is greyed out, you will need to activate it by scrolling over “Disabled” and select the dropdown and select “Active”.
Once activated scroll over to the product name and select or scroll over the gear wheel, click dropdown and select “Edit”.
GENERAL TAB
Information:
Name and Categories: Name will appear by default and cannot be changed.
Current Price: Leave pricing at “0”. This will be set in the options tab.
Full description: This area is to leave any information for the buyer.
Status:
- Active – Product is currently for sale.
- Disabled – Product is no longer for sale.
- Hidden – Product is hidden until you are ready to make it active.
Avail Until: Enter in your last available date to purchase the yearbook Ad.
Images: Images can be dropped onto the designated area, or they can be selected by browsing for the image. Recommended image format is JPG.
Pricing / Inventory:
Regular Price: Leave pricing at “0”. This will be set in the options tab.
In stock: Enter in the quantity of ads you would like in your yearbook.
Taxes: Use this only if you would like to add taxes to the yearbook ad. If you want to use the State tax, please contact your Project Specialist.
Product will be available until inventory runs out or when the status is changed to Disabled.
Navigate to the top right corner and hit “Save” when changes have been made.
OPTIONS TAB
Ad Size: 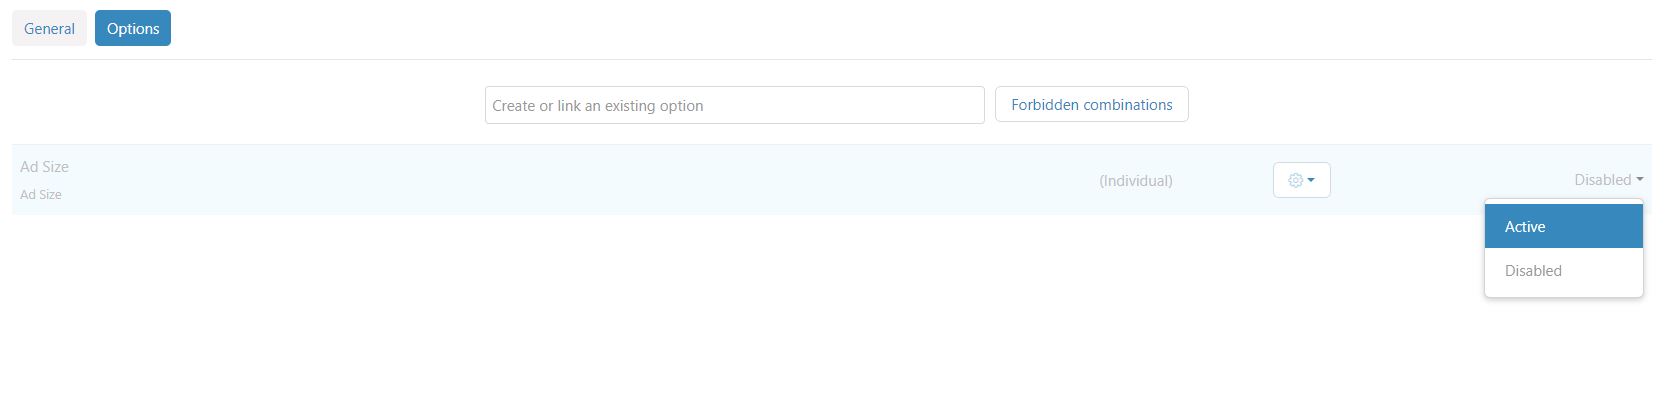
Please disregard “Create or link an existing option” or “Forbidden combinations”
Once activated scroll over the product name and select or scroll over the gear wheel, click dropdown and select “Edit”.
General: These are the default settings for ad sizes. They cannot be changed. Just make sure Avail until date matches what has been set for the product in the General screen.
Variants: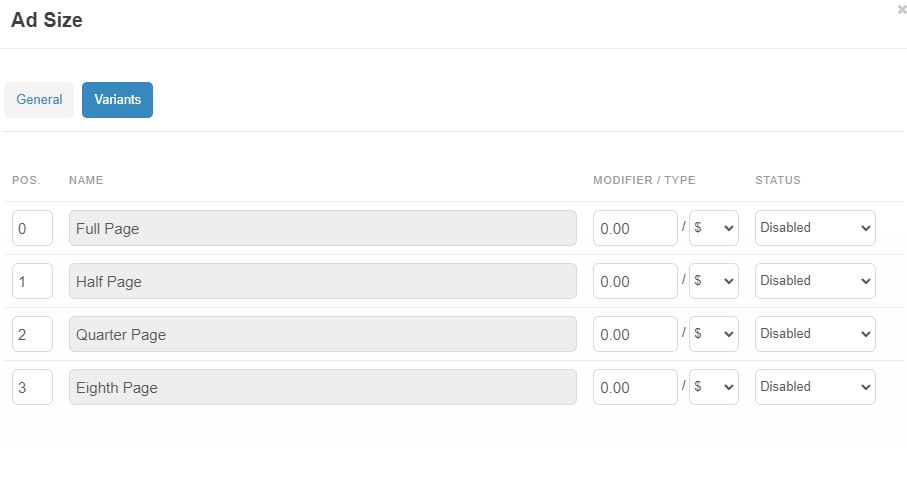
Choose applicable Ad Size.
- Full / Half / Quarter / Eighth Page:
- Under modifier enter in your price.
- Under type keep it as $ symbol.
- Change status to active.
Please hit save to apply the changes. Click the storefront panel on the bottom to confirm changes have been made.
CREATING SCHOOL PRODUCT
In the products tab, navigate to the top right corner and click on + icon. You will be given two options:
Create new product – This allows you to create school related products. Disregard Import Products.

GENERAL TAB
Information:
Name: Enter in your product that you are selling. (ex: t-shirts, sport tickets, etc)
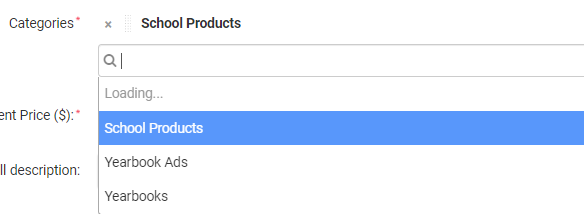
Categories: Click in the search area and Select “School Products” or select the dropdown on the right and select School products. Please hit save to apply.
Current Price: This will be the price that the product currently sells at.
Full description: This area is to leave any information for the buyer.
Status:
- Active – Product is currently for sale.
- Disabled – Product is no longer for sale.
- Hidden – Product is hidden until you are ready to make it active.
Avail Until: Enter in your last available date to purchase the school product.
Images: Images can be dropped onto the designated area, or they can be selected by browsing for the image. Recommended image format is JPG.
Pricing / Inventory:
Regular Price: If this price is the same as the current price this will be the amount that shows in the store. If this price is larger than the current price, the price in the store will show the percentage of the savings.
.jpg)
In stock: This would be the amount of school product you want available.
Product will be available until inventory runs out or when the status is changed to Disabled.
Taxes: Use this only if you would like to add taxes to the school product. If you want to use the State tax, please contact your Project Specialist.
Navigate to the top right corner and hit “Create” when changes have been made. Click the storefront panel on the bottom to confirm changes have been made.
Shipping: School is responsible for distribution.
Was this article helpful?