Settings
- 21 Oct 2020
- 1 Minute to read
- Print
- DarkLight
- PDF
Settings
- Updated on 21 Oct 2020
- 1 Minute to read
- Print
- DarkLight
- PDF
Article summary
Did you find this summary helpful?
Thank you for your feedback!
Auto Page Numbering
To set automatic page numbers go to the Build It Tab and select Settings. Under the Auto Page Numbering window click on the check box to enable the Auto page numbers.
NOTE :The automatic page numbers will NOT be applied to PDF uploaded pages.
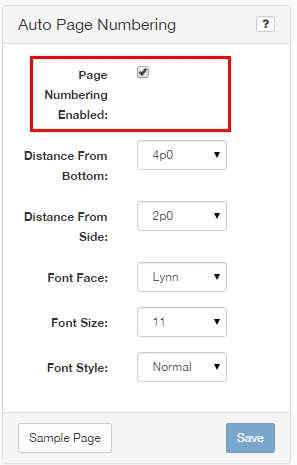
Once that is turned on the settings below become available. Set the distance measurements for the location of the page numbers.
Choose the font face, size, style and click on save.
Once the settings are saved click on the Sample Page button. This will open a spread and show you where the page numbers will be on your pages.
Note :Once one of your spreads is approved you will not be able to turn the auto page numbering off.
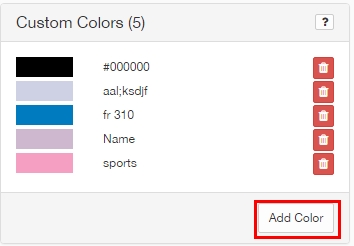
Creating Custom Colors
To create custom colors that will be available for all users go to the Custom Colors column in the DEO Settings page.
Click on Add Color and an Add Custom Color window will come up.
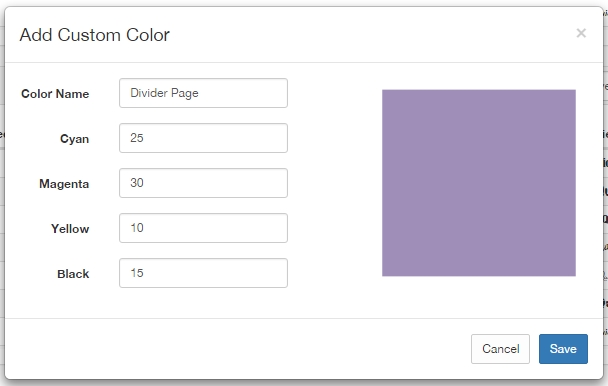
Type in the name of the color and the CMYK color values. When you click Save the color will be added to your account and be available for all the pages.
Note :We strongly recommend using the Friesens Color Guide book for color references. The Color Guide book contains color swatches with CMYK values that have been printed on press so it will give the best representation of the color that will appear in your book.
Setting Measurement Units
To set the measurement units for your account go to the Measurement Units column and click on the desired measurement units (Inches or Picas).
 Note:
Note:There are 6 picas in 1 inch and there are 12 points in 1 pica.
Was this article helpful?