Creating Users
- 17 Oct 2024
- 1 Minute to read
- Print
- DarkLight
- PDF
Creating Users
- Updated on 17 Oct 2024
- 1 Minute to read
- Print
- DarkLight
- PDF
Article summary
Did you find this summary helpful?
Thank you for your feedback!
Creating Users
1. To create or modify a new user login to your ConnectMe account and click on the Account tab.
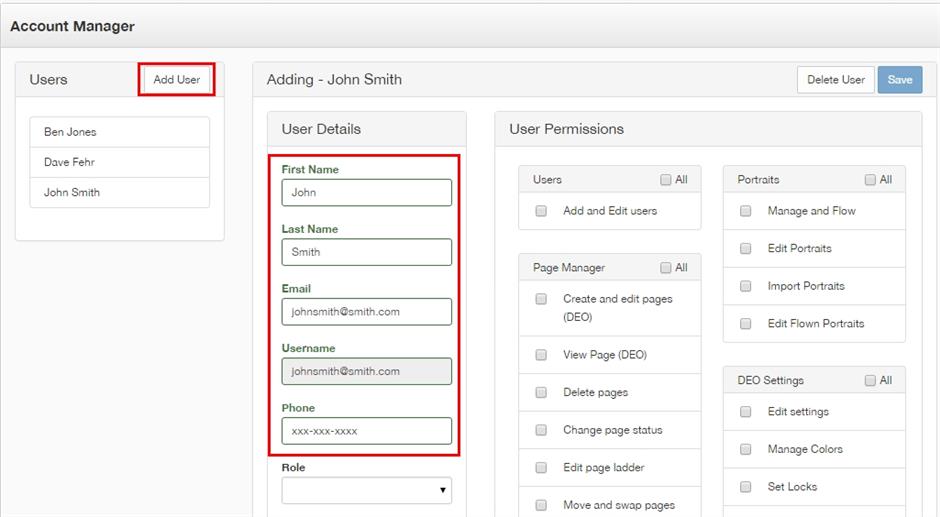
2. To create a new user click on the Add User button Beside Users. Then fill out the First Name, Last Name, email and phone (The phone field is optional). After those fields are filled in the system will automatically create a user name.
(e.g. johnsmith@smith.com )
Note:
If an email address is not available leave that field blank. The system will assign a username based on the name and school account number
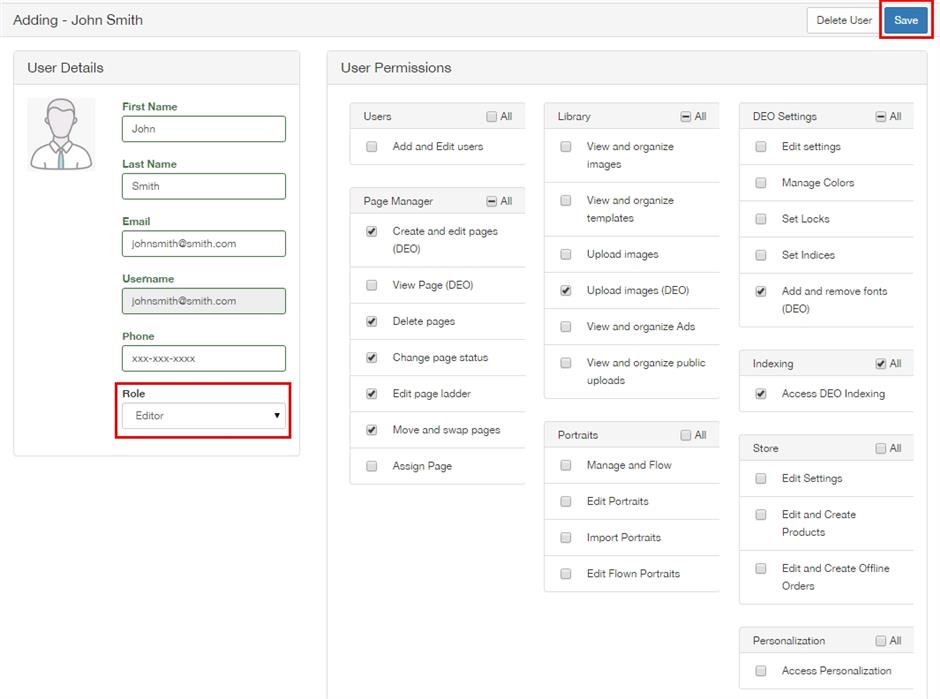
3. Under the Role option select the type of permissions that this user will receive. Keep in mind that this is just a starting point. You can add or subtract permissions by clicking on the check boxes to the right under User Permissions. Then click Save.
4. Once a user is created two emails will be sent to the user provided there is an email address entered. The first email will provide a user name and temporary password and a link. Once that user logs in they will be asked to change their password on that account (Note: due to security, the temporary password expires after 24 hours). The second email will inform them that they have been added to the yearbook project and provides a link to ConnectMe so they can login to the yearbook.
Note:
If a user is created without an email address the advisor will receive the email indicating the user name and temporary password for that account. Then the advisor would forward that information to the user.
5. To copy the permissions from a current account click on Copy User . Then enter in a new name, email, etc.. and click on Save . To delete an account click on the user account you want to remove and click on Delete User .
Video: Creating Users in the Account tab of ConnectMe.
Was this article helpful?